How to Place Paragraphs Side-by-Side in Word Documents
Last updated on 2024-05-20.
Side-by-Side Paragraphs
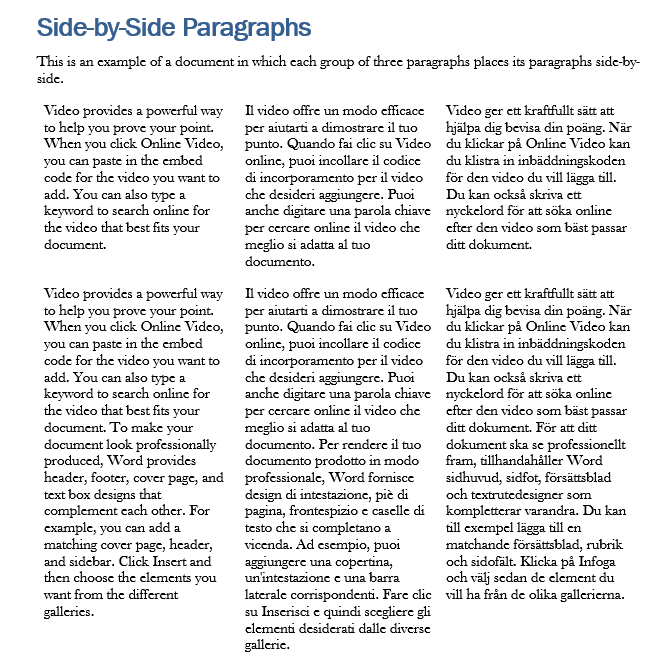
In some documents, you may want to have paragraphs side-by-side, formatted so that their openings are aligned. In this document the three paragraphs are aligned across the page:
This is how a table has been used to position the paragraphs, with each paragraph occupying a cell within the table:
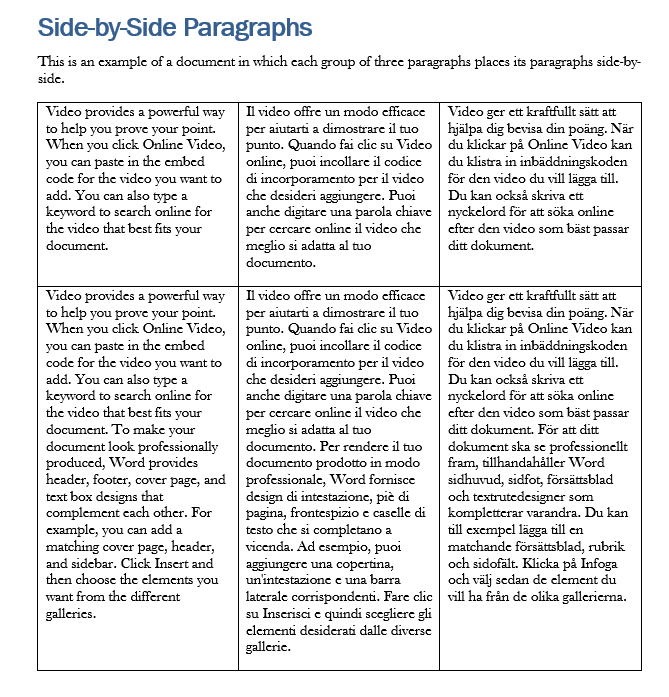
In the finished document, the borders to the table have been turned off so that they don't show. There are further adjustments to be made to the format, as considered below.
Introducing the Table
At the point in your document at which you want to include side-by-side paragraphs, insert a table of one row and of two or more columns according to how many paragraphs you want side-by-side. See How to Insert a Table for how to do this.
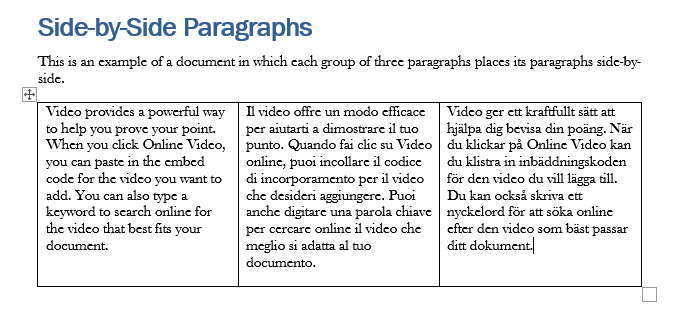
In our example, the table has three columns:
Write your paragraphs, or leave that job for later. When you're ready for a second row of cell, place the insertion pointer anywhere in the right-hand cell — even anywhere within any text in that cell:
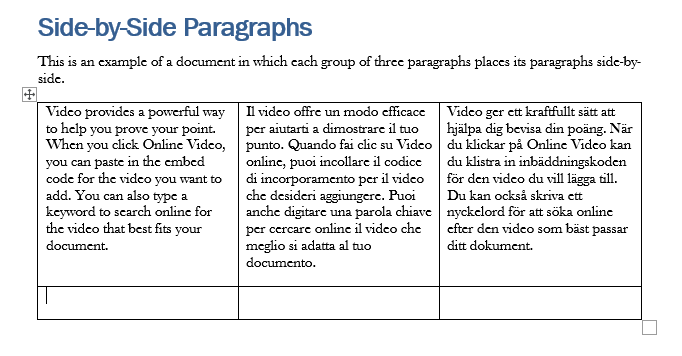
Press the Tab key on your keyboard to start the new row of cells:
The table will adjust the height of each row to accommodate the longest paragraph of the three. It will even adjust to changes you make to the formatting of the paragraphs; to changes in font size, for example.
How to Insert a Table
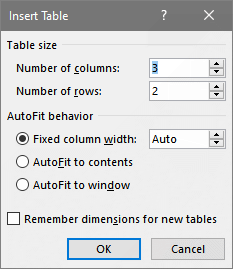
There are several ways in which you can insert a table into a Word document.
This one uses a shortcut keys sequence to display the Insert Table dialog box:
Alt n t i
Other methods are accessible from Word's ribbon's Table button under the Insert tab.
Adjustments to Format
Word introduces a new table with its columns fitting to the page margins. Within each cell, paragraphs are indented to the right of the cell borders:
This means that when you hide the borders the paragraphs in the left-hand column will be indented and won't align with paragraphs outside the table.
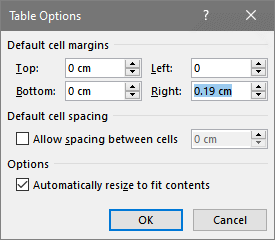
One way to achieve alignment quickly is to use this shortcut keys sequence to display the Table Options dialog box:
Alt j l n
Reducing both the Left and Right default cell margins to zero removes the paragraph indentation.
Breaking Out of Side-by-Side Paragraphs
This are a number of ways to end a table and return the document to full-width paragraphs. One way is to convert table cells to text using this keyboard shortcut:
Alt j l q
To split a table, inserting an empty paragraph between rows, place the insertion pointer anywhere within the row that you want split away from the table. Then use that keyboard shortcut.
To end the table, start an empty row at the bottom of the table; in this new row, use this keyboard shortcut:
Alt j d r
This replaces the empty row of cells with a the new, empty paragraph.
Adding Side-by-Side Paragraphs in Quick Parts
If you use your side-by-side paragraph layout repeatedly in a long document or in different documents, then making it available through Word's Quick Parts will save time, relieving you of repetitive formatting chores.
Please see my article How to Use AutoCorrect, Quick Parts and AutoText in the Creation of Word Documents for the mechanics.
Your Support for DMW TIPS
Please support this website by making a donation to help keep it free of advertising and to help towards cost of time spent adding new content.
To make a contribution by PayPal in GBP (£ sterling) —
To make a contribution by PayPal in USD ($ US) —


